
Amaryllis 2015
Amaryllis 2015
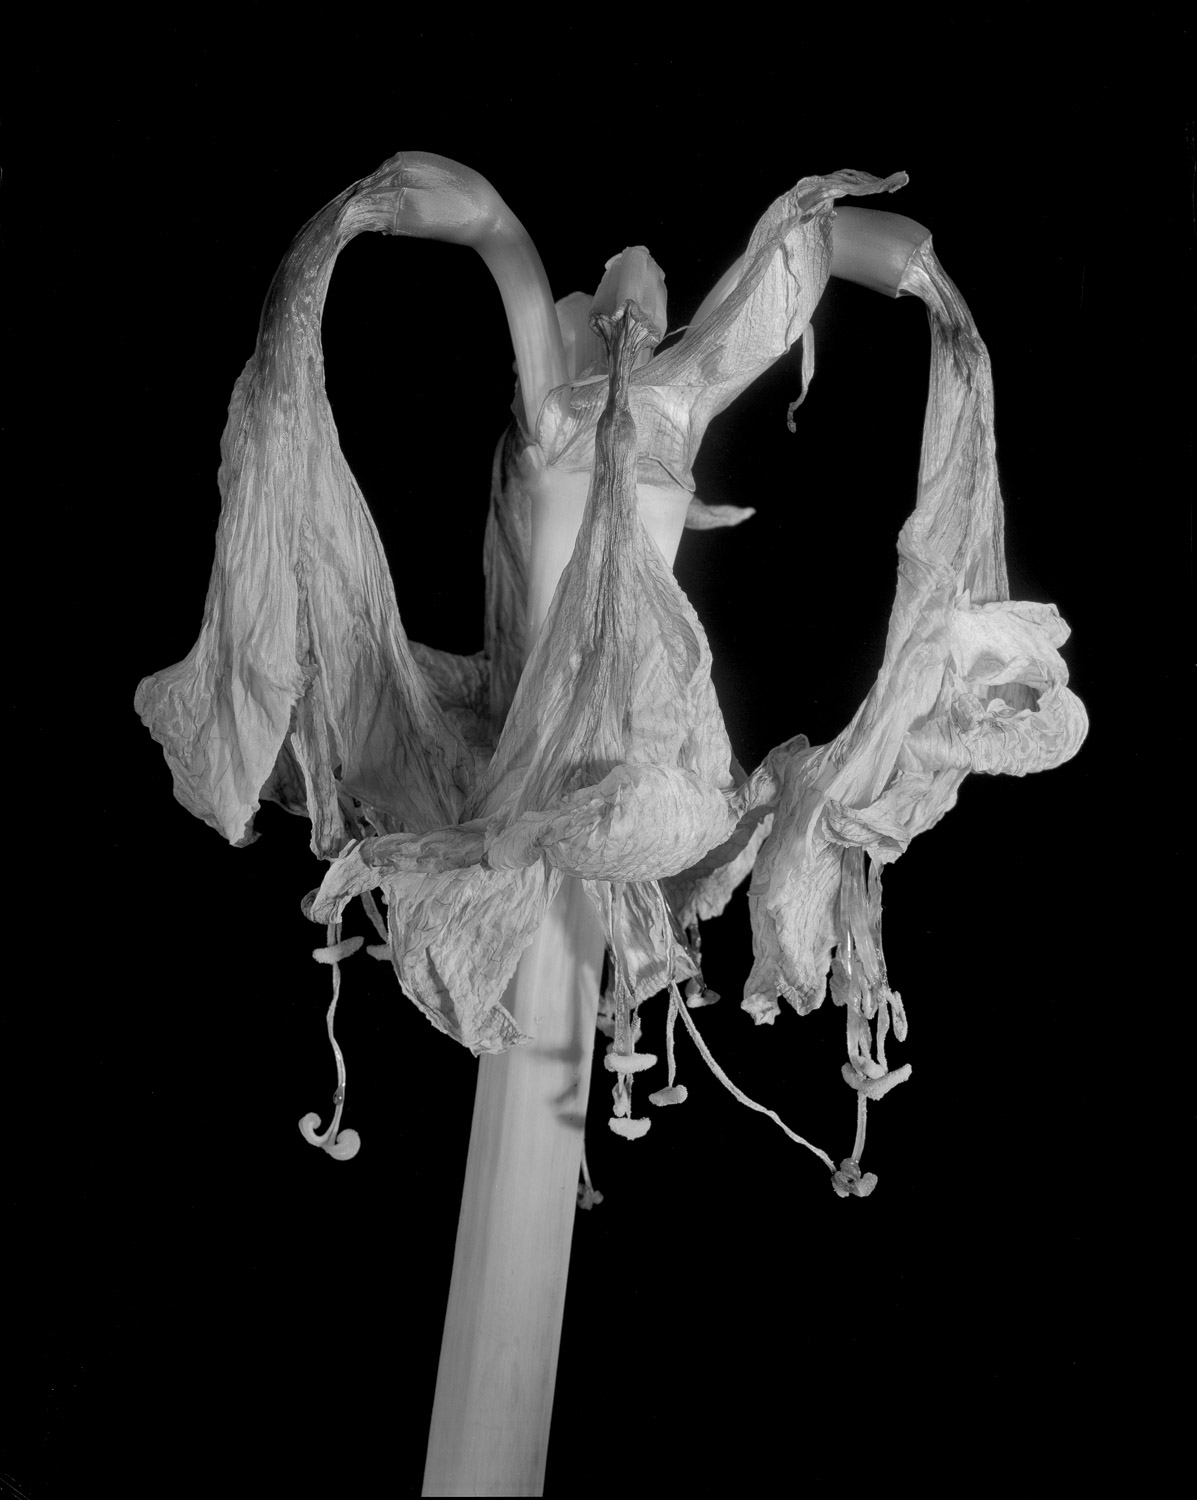
Since 2007, I’ve tried to photograph one of the annual amaryllis flowers grown at Weeping Ash. Each year I’ve tried to take a different approach and this year it was the faded, wilted blooms that struck me as worthy of recording.
Here is an iPhone snap of what it looked like before its demise… (click to enlarge)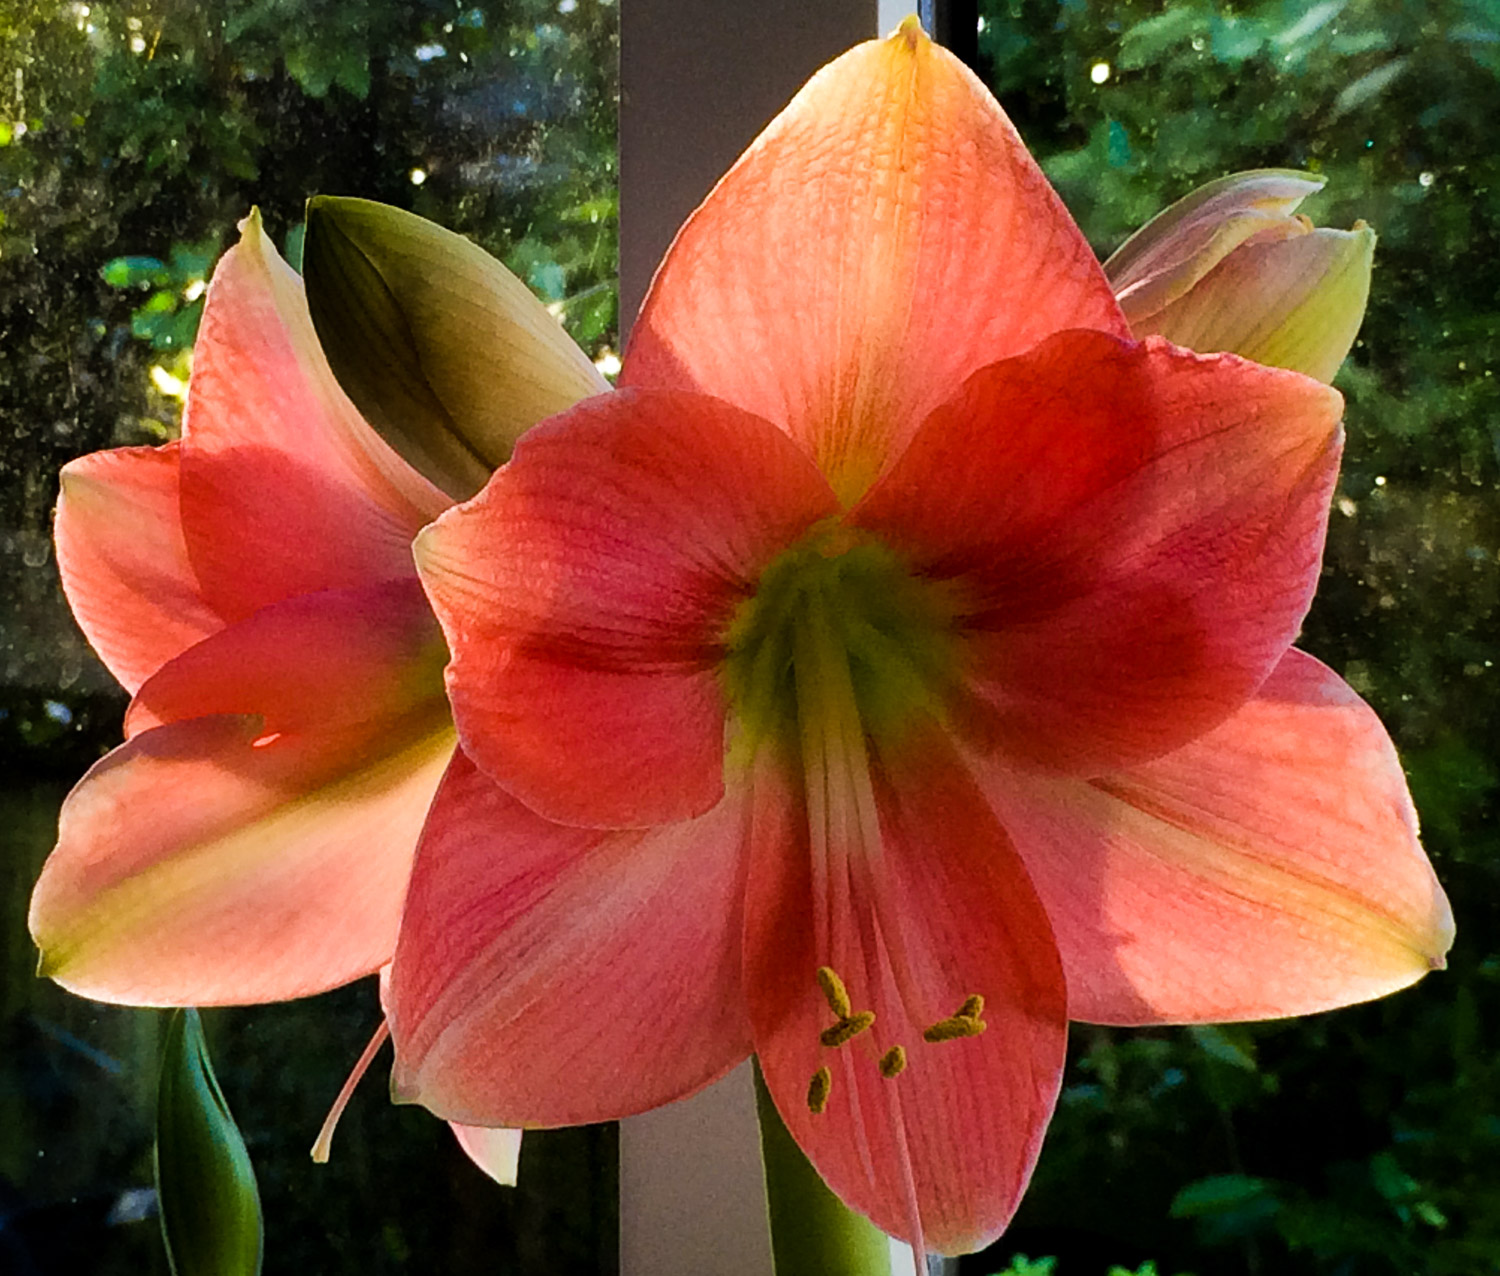
I used the Sinar 8×10 camera with my 100+ yr-old Zeiss Protar 14cm lens, and Adox 100 sheet film developed in my usual PMK 1+2+100 at 20ºC for 11 minutes in a dish.
None of my Protar lenses have shutters and all have small maximum apertures. The 14cm has a maximum of f18 and stops down to f50. This early system of f-numbers followed a different system to modern-day lenses and mine is marked f18-f25-f36-f50. It does open slightly larger than f18 for focussing, I estimate about f13, but that still means that the image viewed on the ground glass is incredibly dim. Lots of light is needed in order to see it at all.
Partly in view of this – and the fact that at this time of year there isn’t much light around! – I decided to use flash for the actual exposure, which needed to be at the f50 setting to achieve maximum depth of field. With my Bowens flash units (2) at full power the flashmeter reading indicated greater than f45 ( the meter only reads up to f45). But that is without taking into account the reproduction ratio and attendant bellows extension.
For the first time, I decided to use a mathematical approach to achieving focus at the scale needed, which was >1:1 in order to fill the 8×10 format, and also to give me some idea of the increase in exposure needed to compensate for the magnification.
The handy formula m = (v/f)-1 = f/(u-f) came into play.
m = magnification, v = lens to film distance, u = subject to lens distance, and f = the focal length of the lens in use.
Using this and substituting my values for focal length and subject to lens distance, I was able to work out the bellows extension and the subsequent magnification factor to get the image size required. ‘u’ was 24-25cm, ‘f’ was 14cm, so I had m = 14/(24.5-14) = 1.33. So my negative had an image 1.33x as big as the subject and the lens to film distance (the bellows extension required) was 32cm.
Working solely on these figures I did not bother to try and focus the image manually on the ground glass screen, it being so faint, and just took a chance that the laws of optics and my maths would yield the desired result! For a reproduction ratio of 1:1 (x1 magnification) the exposure needs to be four times what the meter indicates. For 1.33x magnification it needs to be a bit more, but not significantly. I decided to fire the flashes four times with the lens open and set at f50. It seemed to work out okay. As did the arrangement of the subject. Some serendipity here, as I really didn’t study it closely and select the best angle, I just placed the bloom with the most interesting side facing the camera and used vertical and horizontal camera movements to centre the image on the screen.
Here is what the setup looked like, gives a whole new meaning to point-and-shoot…
The beauty of these old Protar lenses is that even at f50 they are incredibly sharp. Bearing in mind they were designed and made in an era devoid of computers and sophisticated lens manufacturing techniques they are remarkable. The first anastigmat construction, first designed in 1890, they consist of just four components.

Over one hundred years since it was made, mine still performs as new.
Here are a few of the previous years’ efforts. All but the first are digital.
Pingback:Amaryllis-Bleach/Lith | Real Photographs
Pingback:Spathiphyllum (‘Peace Lily’) | Real Photographs